How to Connect a Printer to Your Computer
Setting up a wired printer on your Windows computer is a straightforward process. By following these steps, you can quickly install the printer and start printing without hassle.
Method 1: Wired Connection (Windows)
1. Prepare Your Printer and Computer
- Ensure your printer is placed close enough to your computer for a stable USB connection.
- Connect the printer to a power source and turn it on.
2. Connect the Printer via USB
- While your computer is powered on and unlocked, use a USB cable to connect the printer.
- In many cases, Windows will automatically recognize the printer and set it up.
3. Access Printer Settings
- Click the Start button on your computer and navigate to Settings → Devices.
- Under Printers & Scanners, select Add a printer or scanner to search for available printers.
4. Add Your Printer
- When your printer appears in the list, click Add Device to configure it.
- If the printer is not detected, select The printer that I want isn’t listed and follow the on-screen instructions.
5. Complete the Setup
- Follow any additional steps required for your specific printer model.
- If needed, refer to the official manufacturer’s website for setup assistance.
6. Test Your Printer
- Print a test page to confirm that everything is working correctly.
- Once successful, your printer is ready for use.

Method 2: Wired Connection (Mac)
1. Prepare Your Mac for Setup
- Ensure your Mac is up to date with the latest system updates. This helps maintain compatibility with your printer.
2. Position and Power On Your Printer
- Place the printer close to your Mac, ensuring the USB cable can reach without tangling.
- Press the power button to turn on the printer and confirm it is properly connected to a power source.
3. Connect Your Printer to Your Mac
- Use a USB cable to connect the printer to your Mac.
- If your Mac has only USB-C ports, a USB-C to USB adapter may be required.
- Make sure your Mac is powered on and logged in before proceeding.
4. Detect and Install the Printer
- Your Mac may automatically detect the printer and complete the setup.
- If a prompt appears, follow the on-screen instructions to finish the installation.
5. Verify Printer Functionality
- Once the setup is complete, try printing a test page to confirm that the printer is working correctly.
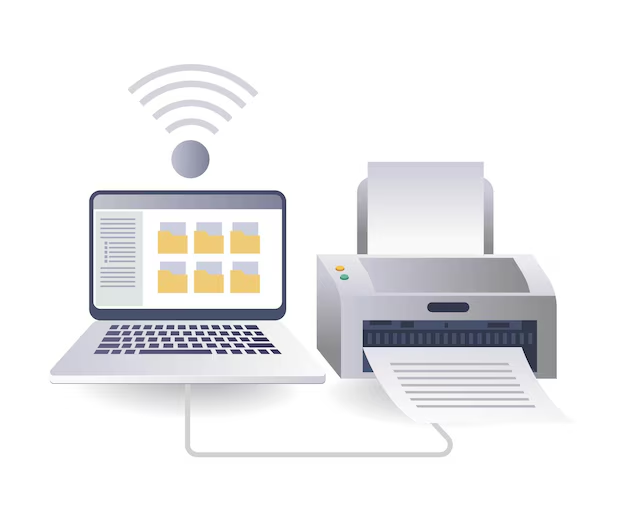
METHOD 3: WIRELESS CONNECTION (WINDOWS)
1. Check Your Printer’s Network Compatibility
- Determine whether your printer connects via Wi-Fi or Bluetooth. Some Wi-Fi printers may require an Ethernet cable for initial setup.
2. Ensure a Strong Network Connection
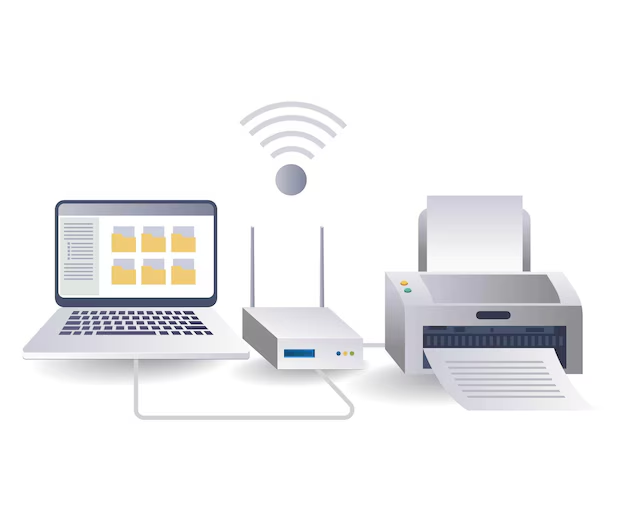
- Place your printer within range of your Wi-Fi router for a stable connection.
3. Turn On Your Printer
- Press the power button and confirm the printer is ready. If needed, connect an Ethernet cable from the printer to the router for network access.
4. Configure Network Settings
- Follow the steps on the printer’s screen or refer to the manufacturer’s official support website for specific instructions.
- Some printers may require a temporary wired connection during setup, while others can be configured wirelessly.
5. Connect to Wi-Fi or Bluetooth
- Use the printer’s Wi-Fi setup menu to select your network and enter the password.
- If using Bluetooth, press the Pair button to enable pairing mode.
6. Add the Printer to Windows
- On your Windows computer, go to Start → Settings → Devices.
- Select Printers & Scanners (for Wi-Fi) or Bluetooth & Other Devices (for Bluetooth).
- Click Add a printer or scanner or Add a Bluetooth or other device, then select your printer from the list.
- If using Bluetooth, click Connect, and press the Pair button again if prompted.
7. Confirm Setup and Test Your Printer
- Once the setup is complete, print a test page to verify that the connection is successful.
METHOD 4: WIRELESS CONNECTION (MAC)
1. Determine Your Printer’s Connection Type
- Check if your printer connects via Wi-Fi or Bluetooth, as the setup process will vary.
- Some Wi-Fi printers may require an Ethernet cable for initial network setup.
2. Ensure a Stable Network Connection
- Place your printer within range of the Wi-Fi router for a reliable connection.
3. Power On and Prepare the Printer
- Press the power button to turn on the printer.
- If needed, connect an Ethernet cable from the printer to the router.
4. Configure Wireless Settings
- Follow the instructions on the printer’s screen or refer to the manufacturer’s official support website.
- If using Wi-Fi, access the Wi-Fi setup menu on the printer, select your network, and enter the password.
- For Bluetooth setup, press the Pair button to enable pairing mode.
5. Add the Printer to Your Mac
- Click the Apple logo () in the top-left corner and select System Preferences.
- Choose Printers & Scanners from the menu.
- Click the plus (+) button in the bottom-left corner. If the printer is already connected, it should appear in the list.
6. Complete the Setup
- Select your printer’s name from the list.
- Once connected, the printer’s name will appear in the left-hand panel, confirming the successful setup.
- If the printer does not appear, ensure your Mac is connected to the same Wi-Fi network as the printer.
- For Bluetooth printers, press the Pair button again if prompted.
7. Verify the Connection
- Print a test page to confirm the setup is complete and the printer is working properly.
METHOD 5: ADD PRINTER TO WIRELESS NETWORK
1. Set Up the Printer on the Primary Computer
- Connect and install the printer on the main computer that will share it across the network.
- The connection can be wired or wireless, depending on the printer model.
2. Enable Printer Sharing on Windows
- Open the Start menu and go to Settings → Network & Internet → Status.
- Under Change your network settings, click Sharing options.
- Select the Private network option, then enable File and printer sharing.
- Once enabled, other Windows computers on the same network can access the shared printer when the primary computer is turned on.
3. Enable Printer Sharing on Mac
- Click the Apple menu () and go to System Preferences → Printers & Scanners.
- Click the plus (+) button to add a printer.
- In the new window, select the Windows tab and choose the shared printer from the available options.
4. Connect Other Devices to the Shared Printer
- Once the printer is shared, other computers on the same network will be able to detect and use it.
- Ensure that the main computer remains powered on for network printing to function properly.
